Flushing your hot water system once a year clears sediment buildup that causes rumbling noises, reduced hot water output, and premature tank failure — and you can do most of it yourself in under an hour with basic tools.
- Flushing a hot water system removes sediment that causes rumbling, rust-coloured water and shorter tank life.
- Always kill power or gas and let the water cool to lukewarm before opening any valve — scalding is the top injury risk.
- A full flush takes 30-60 minutes and needs nothing more than a garden hose and a bucket.
- If the drain valve won't open or the tank is over 10 years old, call a licensed plumber instead of forcing it.
Why this matters
Sediment settles at the bottom of every storage tank, gas or electric, because minerals in mains water don't stay dissolved once they're heated. In Melbourne's harder-water suburbs that layer thickens faster than most homeowners expect, insulating the burner or element from the water above it.
That insulation is what makes a tank rumble, pop, or take longer to heat. Left long enough, sediment corrodes the tank floor from the inside and turns a $40 maintenance job into a full replacement. A yearly flush is the cheapest insurance you've got against a burst tank.
If you're not confident cutting power to a gas or electric system, Apex Drain Plumbing handles hot water flushes and repairs across Melbourne on a 24/7 callout basis — worth knowing before you start pulling valves apart.
What you'll need
- Garden hose (long enough to reach a drain, gutter or outdoor tap)
- Bucket, in case you can't run the hose outside
- Flathead screwdriver (for older gate-style drain valves)
- Work gloves and safety glasses
- 30-60 minutes, plus cooling time if the tank has been running
- Access to the isolation valve, drain valve, and pressure relief valve on the unit
The steps
1. Cut the power or gas supply
This is non-negotiable. For electric systems, switch off the circuit at the switchboard — don't just flip the unit's own switch. For gas systems, turn the control knob to "pilot" or off, depending on the model.
Cutting the energy source first stops the element or burner firing into an empty or partially empty tank, which can crack the element or scorch the burner chamber within minutes. Common mistake: leaving a gas system on "pilot" thinking that's enough — some models still fire the main burner in that setting if the thermostat calls for heat.
2. Turn off the cold water inlet
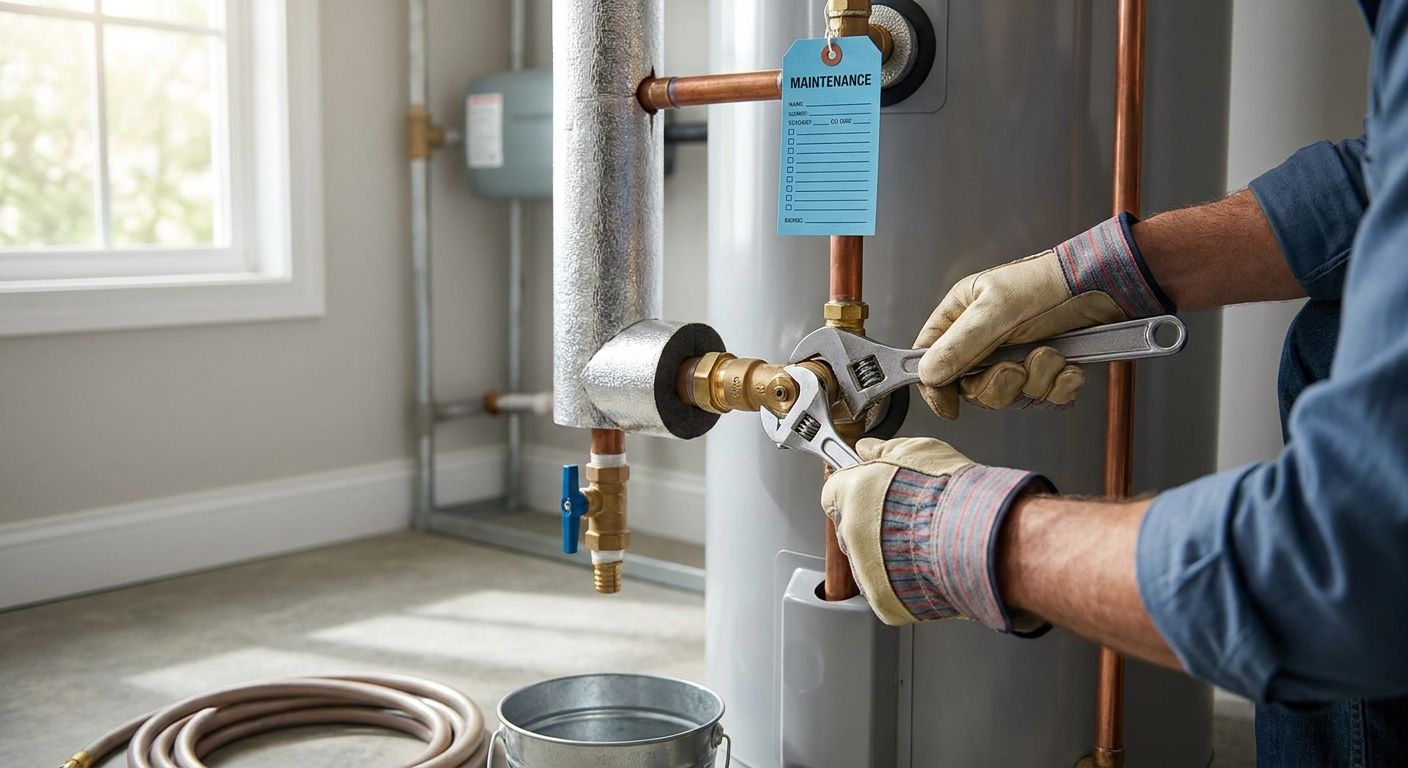
Locate the cold water isolation valve on top of the tank and turn it clockwise until it stops. This prevents mains pressure from refilling the tank while you're draining it, which would just mix fresh water into the sediment you're trying to remove.
Skip this step and you'll be flushing indefinitely without the water ever running clear. Give the valve a firm quarter-turn check before moving on — a valve that's only half closed defeats the whole process.
3. Let the water cool
If the system has run recently, wait 30-60 minutes before opening any valve. Water straight from a storage tank can sit above 60°C, and that's enough to cause a serious scald in seconds.
Running a hot tap inside the house for a minute first also relieves some internal pressure, which makes the next steps easier and safer.
4. Connect the hose and open the drain valve
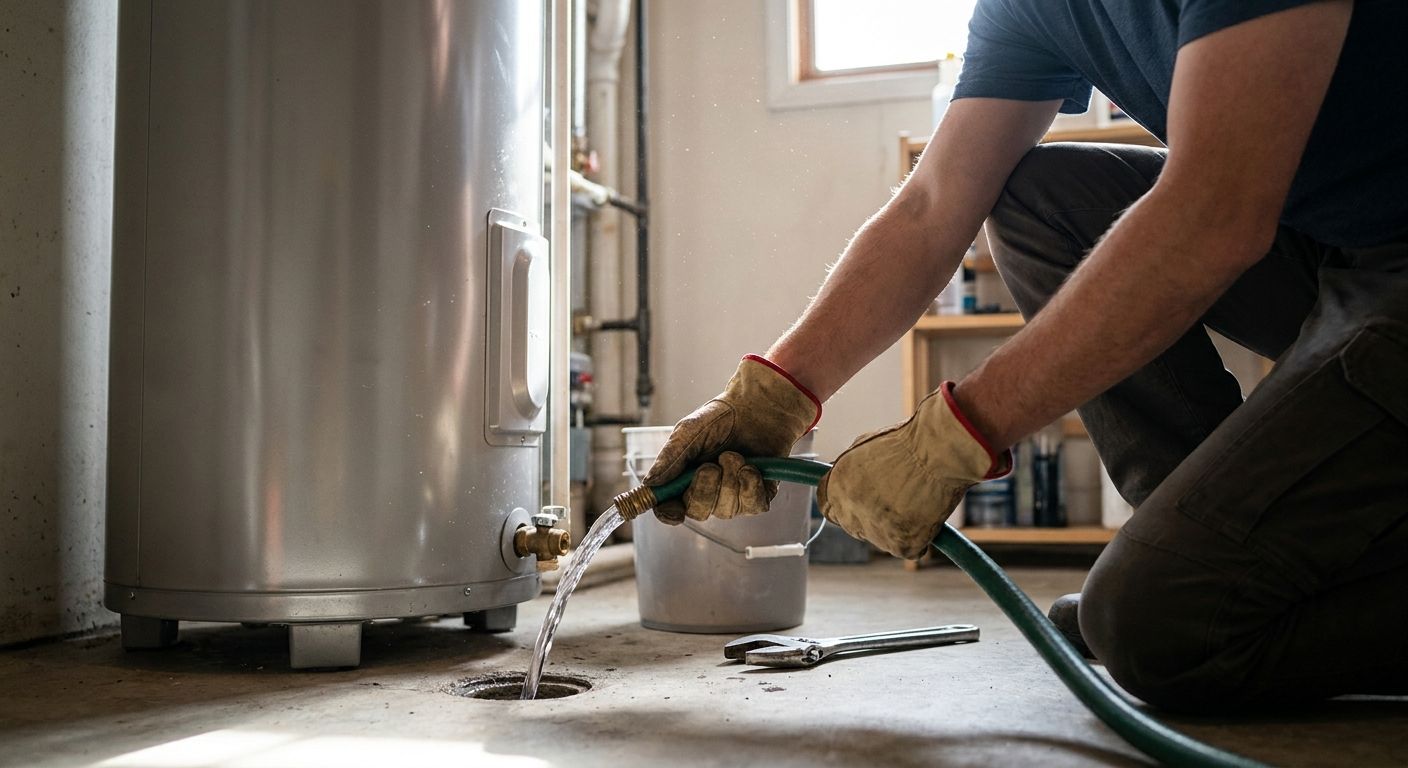
Attach the garden hose to the drain valve near the base of the tank and run the other end to a garden bed, gutter or outdoor drain — never onto lawn you care about, since sediment-laden water can be gritty and slightly acidic. Open the valve slowly.
Water will run cloudy or rust-coloured at first. That's the sediment doing exactly what you want it to do. Common mistake: cranking the valve open fast on an old gate-valve — the plastic stem strips easily and you'll end up with a valve that won't fully close again.
5. Open the pressure relief valve
With the drain valve open, lift or open the temperature and pressure relief (TPR) valve, usually located on the side or top of the tank. This lets air into the system so water drains faster instead of glugging out in fits and starts.
Expect the flow to speed up noticeably once air enters the tank. If the TPR valve won't lift or looks corroded, don't force it — a seized relief valve is a safety device failure, and that's a job for a licensed plumber, not a DIY fix.
6. Flush until the water runs clear
Keep the cold water inlet closed and let the tank drain fully, then briefly crack the inlet open in short bursts to stir up remaining sediment and flush it out through the drain valve. Repeat two or three times until what comes out is clear, not cloudy.
Heavy sediment in an older tank can take 15-20 minutes of this cycling before it clears completely. If it never clears, the buildup is likely too compacted to remove with a garden-hose flush — see troubleshooting below.
Not confident flushing it yourself?
Licensed Melbourne plumbers, 24/7 callouts, upfront pricing.
7. Close everything and refill
Close the drain valve first, then the TPR valve, then slowly reopen the cold water inlet. Leave a hot tap open inside the house until it runs steady with no spluttering — that tells you the tank is full and air is out of the line.
Only once the tank is completely full should you restore power or gas. Firing an element into a half-full tank in 2026-era systems is still one of the most common causes of warranty claims on electric hot water units.
8. Restore power and test
Turn the circuit back on or reset the gas system to your usual setting. For gas units with a standing pilot, you may need to relight it manually — Apex Drain Plumbing's guide to relighting a gas hot water pilot light walks through that exact process if the flame won't catch.
Give the system 30-45 minutes to heat a full tank, then check hot water at two different taps to confirm even flow and normal temperature.
Troubleshooting
Sediment still cloudy after three flush cycles. The buildup is compacted and a garden-hose flush won't shift it. This usually means the tank has gone 3+ years without maintenance and needs a professional descale or, on older units, replacement.
Drain valve won't open at all. Plastic gate valves seize with mineral deposits over time. Don't force it with pliers — you risk snapping the valve stem, which turns a flush into an emergency tank drain. Call a plumber before you're stuck with a stripped valve and an open tank.
Rumbling noise returns within a few months. That points to unusually hard incoming water or a tank nearing the end of its service life. Persistent rumbling after a proper flush is often the first sign the anode rod needs replacing.
Water pressure drops noticeably after the flush. Air trapped in the line usually clears within a day of normal use. If it doesn't, check whether ageing pipework elsewhere in the house is the real cause — reducing water pressure to protect ageing pipes covers how to tell the difference.
Water around the base of the tank after refilling. This is not normal condensation — a flush can loosen an already-weak seal or fitting on an old tank. Treat it the same way you'd treat any sudden leak: spotting a burst pipe before it floods your home explains the early warning signs worth acting on fast.
Pilot light won't relight after the flush. Air in the gas line after a full drain can take two or three attempts to clear. If it still won't catch on the fourth try, stop — that's a gas safety issue, not a DIY troubleshooting step.
Tools and resources
- Garden hose, bucket, gloves, safety glasses (listed above)
- Your hot water system's manual, for the exact location of the TPR and drain valves on your model
- A basic multimeter if you want to confirm the electric element isn't the actual cause of poor heating before you flush
- A licensed plumber on call for anything involving gas lines, seized valves, or tanks over 8-10 years old
What to do next
A flush fixes sediment-related symptoms — rumbling, reduced hot water, cloudy water. It won't fix a leaking tank, a failed thermostat, or persistent low pressure elsewhere in the house. If pressure issues show up across multiple taps rather than just the hot water line, that's a house-wide problem, not a tank problem.
FAQ
How often should you flush a hot water system?
Flush a hot water system once a year for most Melbourne homes, or every six months if you're on particularly hard water. Skipping flushes for 2-3 years lets sediment compact to the point a garden-hose flush can't remove it.
How to flush a hot water system without turning off the power?
You shouldn't. Flushing with the power or gas still on risks firing the element or burner into a partially empty tank, which can crack the element or scorch the burner chamber within minutes. Always isolate the energy source first.
Is it safe to flush a hot water system yourself?
Yes, for most storage tank systems, provided you cut power or gas first and let the water cool before opening any valve. Gas systems, seized valves, or tanks over 10 years old are better left to a licensed plumber.
How much does it cost to flush a hot water system in 2026?
A DIY flush costs nothing beyond a garden hose and 30-60 minutes. A professional flush from a licensed Melbourne plumber typically runs as part of a standard hot water service callout, with exact pricing confirmed upfront before work starts.
What happens if you never flush your hot water system?
Sediment keeps building at the tank floor, insulating the element or burner and forcing the system to work harder to heat the same volume of water. Over years this corrodes the tank from the inside and shortens its lifespan well below its rated life.
Why is my water rusty after flushing the hot water system?
Rust-coloured water during the first few minutes of a flush is normal — it's the sediment and mineral buildup being cleared out. If rusty water persists for more than a day after the flush, the tank itself may be corroding internally.
Can flushing a hot water system fix low hot water pressure?
It can, if sediment buildup was restricting flow through the tank's outlet. If pressure stays low after a full flush, the cause is more likely ageing pipework or a faulty pressure-limiting valve elsewhere in the system.
Do gas and electric hot water systems flush the same way?
The core process is identical — isolate power or gas, drain via the base valve, refill, restore energy. Gas systems add one extra step: relighting the pilot light once the tank is full again.
One last thing
The anode rod inside your tank is doing the corrosion-fighting work a flush can't — it sacrifices itself so the tank walls don't. If you're already elbow-deep in a hot water flush in 2026, that's the ideal moment to check the anode too, since a spent one is the single biggest reason otherwise well-maintained tanks fail early.